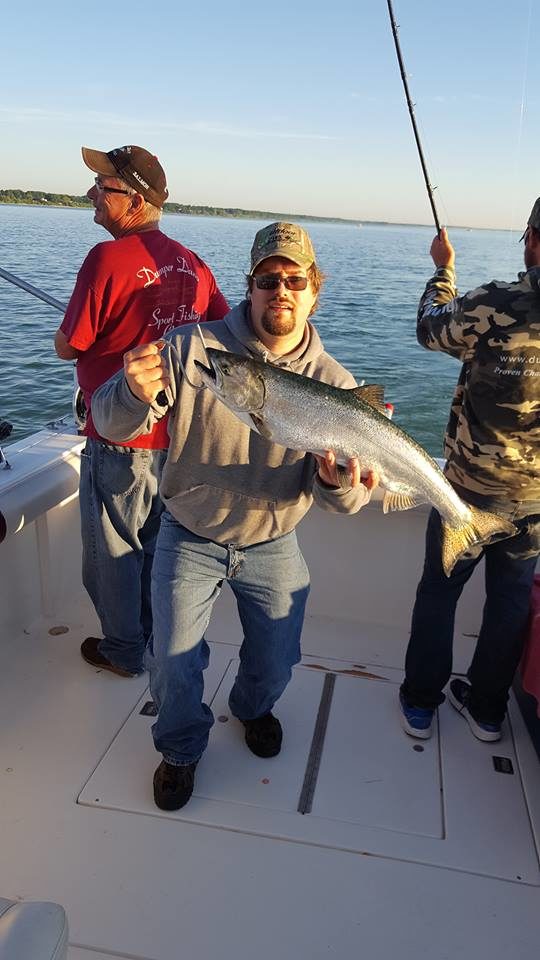
Fish
For a skin mount the best thing to do is to get your fish to me right away if possible. Keep the fish alive
if you can. If not, keep it as cool as possible. Make sure you don’t damage your fish in any way. Keep it away from other fish or other hard objects. Never gut your fish or make any unnecessary cuts. If you can’t bring it in right away you’re going to have to freeze it. Get a towel or rag that will completely wrap around and cover your fish. Soak the towel in cold water and lightly wring it out before wrapping your fish. You can then put your towel wrapped fish in a large plastic bag or wrap in freezer paper before freezing.
Note: Never use newspaper. This will dry the fish out and sometimes ink can soak into the skin which may be difficult to hide.
If you can’t freeze your fish right away you can keep it in a cooler with ice for maybe a day or two before finally freezing or bringing it in to the studio. Keep in mind your fish may lose a lot of its color at this point. Which is why, regardless of your situation, it’s a good idea to take several good photos of your fish. Take pictures from different angles, different poses, close ups, and make sure you’re not taking pictures into the sun. Fish look different in various levels of light and some colors are not visible unless there in the right light.
Sometimes situations may make keeping your fish undesirable or even illegal. Maybe you just want to practice good conservation. Regardless, for one reason or another you may choose to have a fiberglass replica made of your fish. To do so I will need the following:
- The length of your fish from nose to tail (measure to an imaginary that would go from tip to tip when the tail fin is spread out.)
- Girth of your fish at its largest point (if possible)
- The approximate weight (If possible)
- Lots of good pictures. The more pictures you have, to closer I can get.
If you don’t have all of these, we can make an attempt to get as close as possible. The most important of these are your pictures. Even with nothing else we can get very close. Remember, this is an art. Even under the best circumstances getting 100% exactly the fish you took out of the water is near impossible. Most of my clients I find however either can’t tell or are happy regardless. Several examples are in our photo gallery and I’ll let you be the judge.


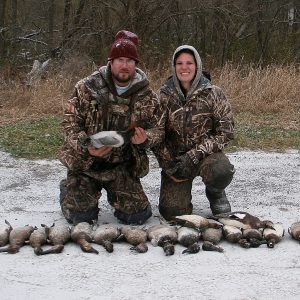
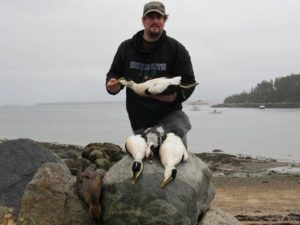
Birds
 Whether it be waterfowl or upland game birds the field care will be the same. The first thing to do after taking a bird you are considering having done is to give it a quick look over. Handle your bird with care as birds are the most fragile and less forgiving than other animals. Hold the bird by its feet when carrying, never the neck as you may cause damage and lose feathers. While carefully handling your bird, look at is its overall plumage. Does it look like a mature bird or a young one? Mature birds will always look better once finished mostly due to few or the lack of any pin feathers. Pin feathers are feathers that are actually still growing and haven’t yet taken a firm hold in to the skin. They often fall out during the taxidermy process and affect the look of the finished mount. I find that if a bird has any pin feathers they are usually along the back part of the neck and breast and in the side pocket feathers. If you’re inexperienced in handling birds bring the bird in and I’ll give you an honest review or freeze it until you can. Also during the look over see if there are any broken or missing feathers, especially in the wing if you want a flying bird. Also look at the legs and feet the see if there is damage there.
You don’t have to be concerned with:
- Broken wings or bones
- Blood or dirt on the plumage
- Shot holes or minor damage.
 Once you gave your bird a look over get it cooled or frozen has soon as possible. If you cool your bird only do so for a day or two before bringing it in. Otherwise, you have to freeze your bird. If you plan on bringing the bird in soon simply wrapping it in a plastic bag with work. If it will be a longer time wrapping the birds in a lightly wetted towel before placing it in a plastic bag will help extent its life in the freezer. I also recommend folding the wings close to the body tucking the bill and head underneath one of the wings.
For the turkey hunter, I recommend bringing your bird in as soon as possible for the reason of both the size and for how much is involved.
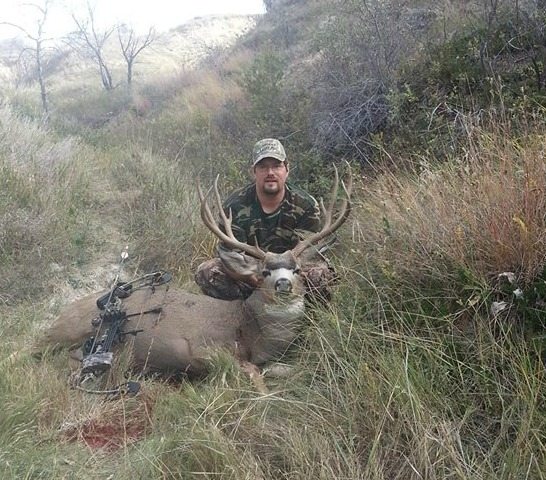
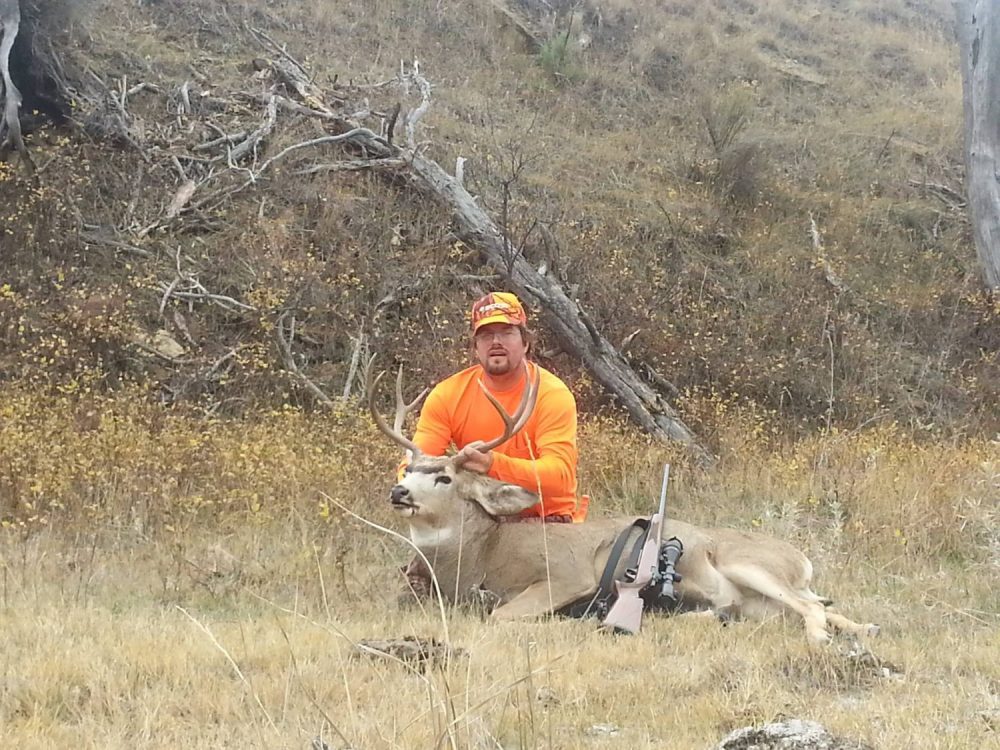
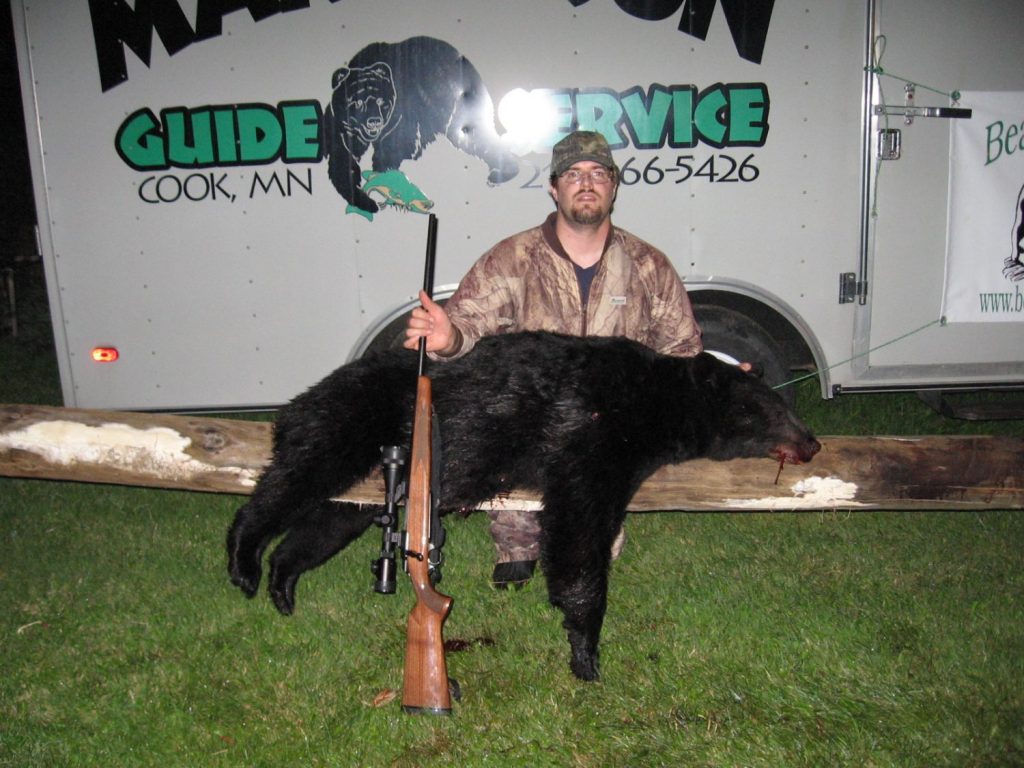
Mammals
Fur bearing animals will be labeled as one of the following: Big game and small game. Typical when dealing with mammals the project is a life-size mount, ½ size, game head, or rug. Small game animals such as squirrels and rabbits can be frozen using the same damp towel method previously mentioned. Larger specimens like fox and coyotes can be frozen whole for a short time, but may have to be partial skinned. For large game animals like deer and elk, you will most likely have to do some of the skinning on site.
NOTE:(For those hunting Big Game outside of Minnesota): Due to the concerns of CWD (Chronic Wasting Disease) Current Minnesota law restricts what parts of deer, elk, moose and caribou you can legally transport from out of state. For taxidermy purposes a fully caped or skinned hide and the antlers with the skull plate (no brain tissue) can be transported. More information is at http://www.dnr.state.mn.us/ . The Minnesota Taxidermy Guild (https://mntaxidermy.herokuapp.com/) and I are opposed to this law and are working to make changes; we encourage you to contact your local state representatives to express your disapproval of this law. You can find them at https://www.leg.state.mn.us/leg/districtfinder . Because of this law we cannot currently accept European (or skull mounts) from deer, elk, moose, and caribous taken outside Minnesota.
For those that live close to the shop you can bring your harvested animal to the studio or I am willing to travel to your place to skin it there. If your farther away you can call me and I can give you some instruction over the phone on how to skin or cape your specimen. I hope to have instructional videos soon but there are several good ones on YouTube. I recommend the following:
- Deer skinning video https://www.youtube.com/watch?v=YOSIT_BJnOs
- Deer skinning of the face video https://www.youtube.com/watch?v=AX7dUCxDmXY
- Bear field dressing and life size skinning https://www.youtube.com/watch?v=wLit4KrL2hU
If you’re planning a hunt out of state it might be a good idea to stop in and visit before your hunt so we can go over skinning methods before you attempt it yourself. Another good idea is to practice on something you don’t plan on mounting.
Click here for the Field Care Guide.
Game Heads and 1/2 Size
 This is the most common way I see customers get their game animals done. I see mostly whitetail deer so I will use this as an example, but the process is the same for most everything else. To start you will want to make a cut from back to belly all the way around you deer. You will want this cut about 6 to 8 inches behind the shoulder. For elk mounts I recommend doing this at the center of the body or even in front of the hind legs. For ½ size mounts (such as a black bear) make this cut in front of the hind legs. Then at the front legs of your deer you will want to make this same cut from front to back just above the second joint. After this you will want to split the leg (don’t do the following for a ½ size). This is where most people mess up, so be careful. At the back to the front leg there is a hair line from white to brown. Do not cut into the white! You will make your cut in the brown about a ¼ to ½ inch from the hair line. Follow this line up the leg in and around the armpit area, along the belly and all the way back to your first cut. You can then start skinning the hide away from the carcass, working from your first cut toward the head.
 Skin down the neck as far as you can before removing the head from the rest of the carcass. A hand saw usually works pretty good to cut through the backbone and a sharp knife will take care of the rest. Be careful not to cut any of the hide or hair on the cape (skin from the nose to just behind the shoulder). At this point you can bring in the head and hide and I will take care of the rest. If you can't do this right away either cool it or freeze it if it will be more than a few days before you bring it in. As noted about, if you are hunting out of state you need to fully cape or skin your deer before transporting it into Minnesota. If that is not possible or you need better guidance for skinning out the face I highly recommend the YouTube video as it is difficult to describe in writing the skinning of the face.
For ½ size mounts the biggest difference will be you will be only making leg incisions as big as is necessary to remove the hide. Using a black bear as an example you will start on the inside of the leg next to the back of the paw. Keeping your knife at a sharp angle toward you (so you cut on the inside of the hide instead of the hair) split the leg down to at least the elbow before skinning. You will want to remove the foot from the leg near where you started your cut. Like the deer, this ½ size bear will have the hide with the head and two paws when you bring it in.
Life-Size and Rugs
 The skinning process is similar to what I already describe except you will not be making a cut at the half way point. As the label suggests, you will be bringing in the whole hide as intact as possible. Typically you are going to field dress your big game animal before removing it from the site of the kill. You typically make this cut from the breast bone to the vent. For skinning you would continue this cut up the breast bone to an imaginary line that runs between the two front legs. Make sure your knife is at a sharp angle toward you so you are cutting hind and not hair. Split your legs as described above and remove the feet and head from the carcass in the same way. Again I highly recommend visiting with me before your hunt. I also will advise you to clean up as much blood out of the hair as possible (use cold water for this). Keep your hide cool and either freeze or bring it in as soon as possible. Please contact me if you have questions.